
Grout serves as a critical component in tile installations, acting as the binding agent that secures tiles while preventing moisture and debris from penetrating beneath the surface. This cement-based substance fills the gaps between tiles, creating a unified appearance and providing structural stability to the entire tiled area. Without proper grout, tiles would be prone to shifting, cracking, and water damage.
Over time, grout can deteriorate due to various factors including daily wear, cleaning chemicals, and moisture exposure. As it ages, grout may discolour, crack, or develop mould and mildew, which not only affects the appearance of your tiled surfaces but can also lead to more serious structural issues. The condition of your grout directly impacts both the look and longevity of your tiled spaces, making proper maintenance and occasional regrouting essential for preserving the integrity of your tile installations.
Transform Your Tile Surfaces: The Art and Science of Regrouting
Apr 19
Signs Your Tiles Need Regrouting
Recognising when your tiles require regrouting can save you from costly repairs down the line. The most visible sign is discolouration—when grout lines turn from their original colour to unsightly yellow, brown, or black hues. This change often results from mould growth, dirt accumulation, or staining from spills that have penetrated the grout's porous surface.
Cracking and crumbling grout are clear indicators that regrouting is necessary. These physical breakdowns occur as grout ages and loses its bonding properties, especially in areas with high foot traffic or temperature fluctuations. Additionally, if you notice loose tiles or feel them moving underfoot, this suggests that the grout has failed in its primary function of securing the tiles in place. Water damage signs such as dampness on walls adjacent to tiled areas or bubbling paint may indicate that compromised grout is allowing moisture penetration. According to the International Association of Certified Home Inspectors, addressing these signs promptly can prevent more extensive water damage to your home's structure.
The Process of Regrouting: Step by Step Guide
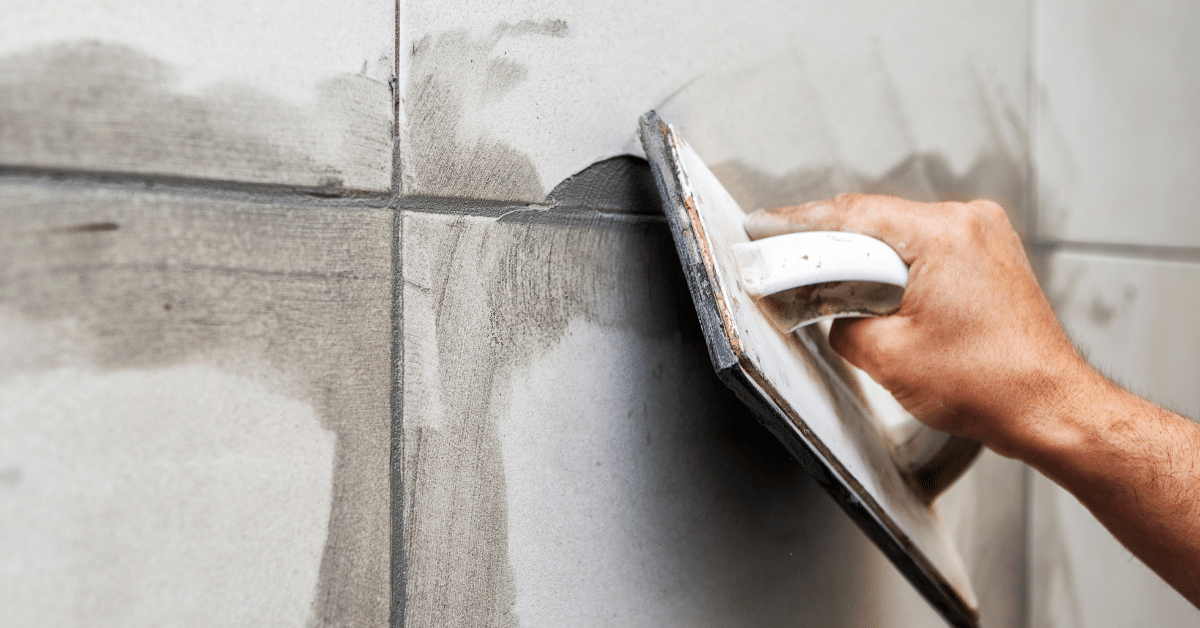
Regrouting begins with thorough preparation of the work area. Remove all items from the tiled surface and clean it properly to ensure no dust or debris interferes with the new grout application. Next, you must remove the old grout using specialised tools such as a grout saw, oscillating tool, or grout removal attachment for a rotary tool. Work carefully along the grout lines to avoid damaging the tiles themselves.
After removing the old grout, clean the exposed joints thoroughly to remove any remaining grout particles and dust. This can be done using a vacuum cleaner with a narrow nozzle attachment followed by wiping with a damp sponge. Once the area is clean and dry, prepare the new grout according to the manufacturer's instructions. Apply the fresh grout diagonally across the tiles using a rubber float, pressing firmly to ensure the grout fills all joints completely. Allow it to set slightly (following package directions), then clean excess grout from the tile surfaces using a damp sponge. The final steps involve allowing the grout to cure fully—typically 24-48 hours—before applying a quality grout sealer to protect your new grout from staining and moisture.
Choosing the Right Grout for Your Regrouting Project
Selecting the appropriate grout type is crucial for successful regrouting. Sanded grout works best for wider joints (typically greater than 3mm) and provides durability in high-traffic areas such as floors. Its texture helps prevent shrinkage and cracking in these larger spaces. For narrower joints and vertical surfaces like backsplashes, unsanded grout offers better adhesion and smoother application.
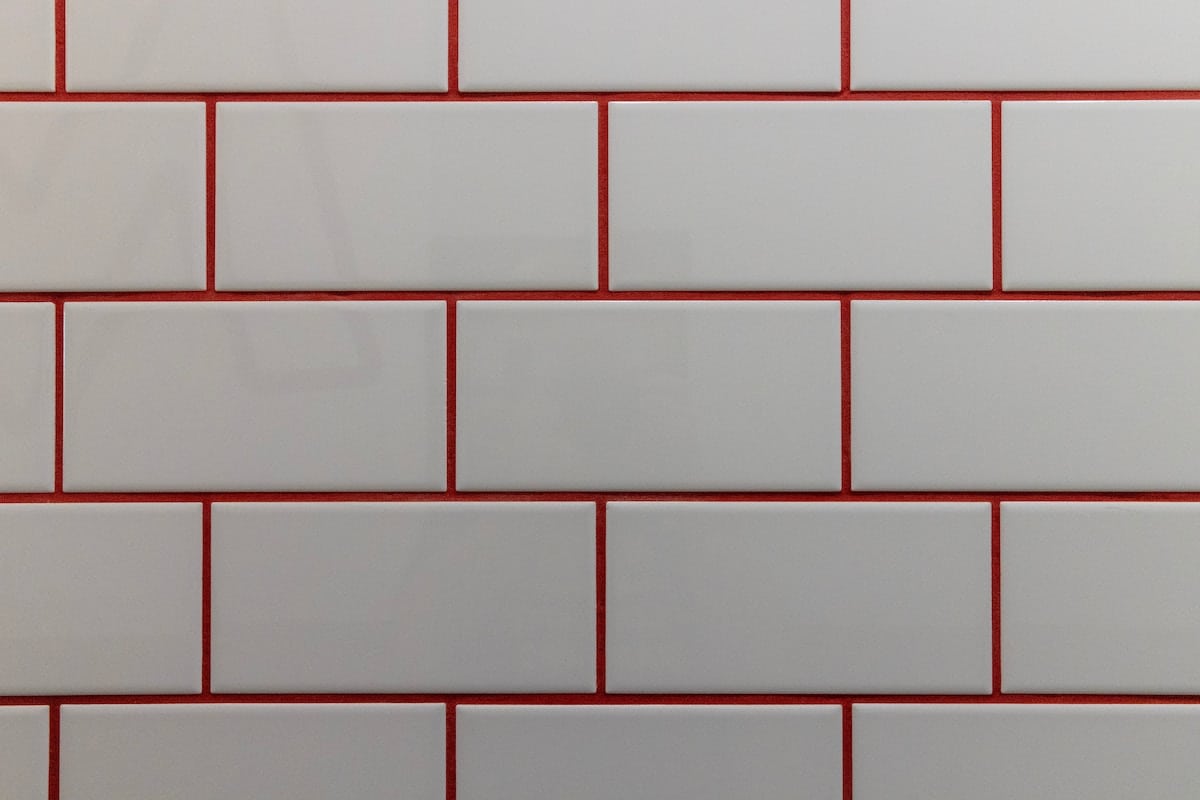
Colour selection presents another important consideration that significantly impacts the final appearance of your tiled surfaces. According to experts at The Grout Guy, changing your grout colour can dramatically transform the look of your space without replacing the tiles. Matching grout to your tile colour creates a seamless, unified appearance, while contrasting colours can highlight tile patterns and create visual interest. Also consider grout additives like epoxy or acrylic, which enhance water resistance and flexibility, making them ideal choices for bathrooms, kitchens, and other moisture-prone areas.
DIY vs Professional Regrouting: Making the Right Choice
The decision between DIY regrouting and hiring professionals depends on several factors. DIY regrouting can save money and might be suitable for small areas with standard tiles. However, it requires specific tools, physical effort, and time commitment. Many homeowners underestimate the precision needed to remove old grout without damaging tiles and the skill required to apply new grout evenly.
Professional regrouting services offer expertise, efficiency, and often warranties for their work. Professionals bring specialised equipment that makes the job faster and more precise. They also have experience handling complex situations like valuable tiles, unusual patterns, or hard-to-reach areas. For extensive regrouting projects, delicate tiles, or when time constraints exist, professional services typically provide better results and peace of mind, despite the higher initial cost.
Maintaining Your Newly Regrouted Tiles for Longevity
Proper maintenance extends the life of your freshly regrouted tiles significantly. Begin by applying a high-quality grout sealer after the new grout has fully cured (typically 48-72 hours after installation). This creates a protective barrier against moisture and stains. Reapply the sealer annually or as recommended by the manufacturer to maintain this protection.
Regular cleaning practices play a crucial role in grout maintenance. Use pH-neutral cleaners specifically formulated for tile and grout rather than harsh, acidic solutions that can erode grout over time. Clean spills immediately to prevent staining, particularly in kitchens where food and beverages can quickly penetrate unsealed grout. Consider using a soft-bristled brush for routine cleaning of grout lines rather than abrasive scrubbers that may wear down the grout surface. For bathrooms, improve ventilation to reduce moisture levels, as constant humidity accelerates grout deterioration and promotes mould growth. These simple maintenance steps will help preserve your regrouting investment and keep your tile surfaces looking fresh for years to come.